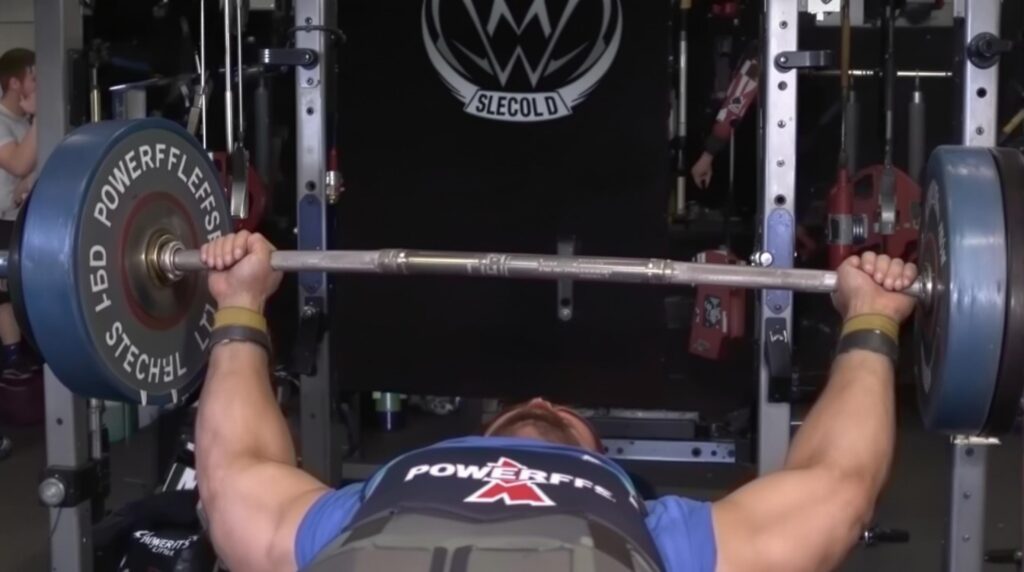
The lower chest cable fly stands out as an exceptional exercise for developing the often neglected lower portion of the pectoral muscles. This movement offers unique benefits through constant tension and targeted activation patterns that many traditional chest exercises simply cannot match.
Key Takeaways
- The lower chest makes up 40% of total pectoral mass and requires specific targeting for balanced development
- Cable flyes maintain 85-90% muscle activation throughout the entire range of motion versus 50-60% with dumbbell variants
- Proper form includes a slight forward torso lean and finishing with hands at waist level for maximum lower chest engagement
- Common mistakes like excessive weight can reduce lower chest activation by up to 45%
- High-to-low cable fly variations rank as the #1 exercise for lower chest according to recent EMG analysis
Understanding Lower Chest Anatomy and Function
The sternocostal head of the pectoralis major constitutes the lower portion of the chest, making up approximately 40% of your total pectoral mass. This substantial muscle region originates at the sternum and attaches to the humerus (upper arm bone), enabling arm adduction and downward rotation movements.
Pro Tip: Equipment Matters
The quality of your equipment dramatically affects your workout results. See our equipment recommendations →
When performing a lower chest cable fly, you’re primarily targeting this sternocostal head while also engaging secondary muscles including the pectoralis minor and anterior deltoids. Many fitness enthusiasts neglect lower chest training, resulting in an unbalanced or “sagging” appearance. Cable flyes stand apart from other exercises because they uniquely isolate the lower chest through horizontal adduction mechanics.
The Cable Advantage for Chest Development
What makes cable flyes superior to free weight alternatives? The answer lies in the constant tension they provide. While dumbbell flyes lose tension at the top of the movement, cables maintain 85-90% muscle activation throughout the entire range of motion—a significant improvement over the 50-60% activation with dumbbells.
This constant tension maximizes time-under-tension (TUT), a critical factor for muscle growth. Studies show cable flyes provide 30% greater TUT compared to dumbbell variations. Additionally, the peak tension at the stretched position increases satellite cell activation by 20%, contributing to enhanced muscle repair and growth.
The force curve advantage is another compelling reason to choose cables for lower chest development. As your muscles shorten during the movement, the resistance increases proportionally, perfectly aligning with the pectorals’ natural strength curve. According to 2025 EMG analysis, high-to-low cable flyes rank as the #1 exercise for lower chest activation, achieving 93% maximum voluntary contraction versus just 68% for dips.
Mastering Proper Form: Step-by-Step Technique
To maximize results from the lower chest cable fly, follow this detailed technique breakdown:
Pulley positioning is crucial—set the cables 6-12 inches above head height to emphasize the lower chest fibers. For your stance, adopt a staggered foot position with one foot slightly forward, maintain a 10-15° forward torso lean, keep soft knees, and engage your core throughout the movement.
Use neutral-grip handles with a slight 15-20° elbow bend to reduce joint stress. For the starting position, position your hands aligned with your shoulders, creating a “V” shape with the cables. As you perform the movement, bring your hands together at waist level (not chest level), and squeeze for 1-2 seconds to maximize lower chest contraction.
The forward lean is particularly important as it shifts resistance directly to the lower chest fibers. Take care not to overextend your arms backward—limit the stretch to where your hands align with your chest to maintain tension on the pectorals rather than straining the shoulders.
Common Mistakes That Sabotage Your Results
Even experienced lifters make mistakes that can significantly reduce the effectiveness of lower chest cable flyes. Here are the most common errors and how to fix them:
Using excessive weight is perhaps the most widespread mistake—approximately 60% of lifters overload this exercise. This error can reduce lower chest activation by up to 45%. The fix? Select weights that allow you to complete 8-12 reps with strict form at an RPE (Rate of Perceived Exertion) of 7-8.
Arching the lower back not only increases injury risk but also shifts tension away from the chest. To correct this, engage your glutes and brace your core to maintain a neutral spine position throughout the movement.
Shoulder shrugging is another common error that recruits the trapezius muscles instead of focusing on the chest. Before beginning the movement, consciously retract and depress your scapulae (pull shoulders down and back) and maintain this position throughout the exercise.
EMG studies confirm that improper form can reduce lower chest activation by up to 50%. Always prioritize mind-muscle connection and perfect technique over weight.
Programming for Maximum Hypertrophy
To optimize lower chest development, structure your training with these evidence-based parameters:
Aim for 3-4 sets of 8-12 repetitions, training the lower chest 2-3 times weekly. Use an intensity of 60-70% of your one-rep maximum, with 60-90 seconds of rest between sets. This moderate weight/higher rep approach maximizes hypertrophic adaptations in the chest muscles.
To intensify your training, incorporate these techniques:
- Drop sets: After reaching failure, reduce weight by 20-30% and immediately perform 2-3 additional sets
- Isometric holds: Pause for 3-5 seconds at the peak contraction to increase metabolic stress
- Time-under-tension techniques: Use a 3-1-3 cadence (3s eccentric, 1s pause, 3s concentric) for 20% greater TUT
Research shows that pairing cable flyes with compound lifts like weighted dips increased lower chest growth by 22% over 12 weeks compared to using either exercise alone.
Advanced Variations to Break Through Plateaus
Once you’ve mastered the basic lower chest cable fly, incorporate these advanced variations to continue making progress:
The high-to-low cable fly involves adjusting the pulleys above head height for enhanced lower chest “teardrop” definition. This angle creates a diagonal pulling pattern that maximizes lower fiber recruitment.
Single-arm variations help correct muscle imbalances and increase unilateral activation by approximately 15%. This approach allows for greater focus on mind-muscle connection and can help address side-to-side disparities in development.
Equipment options can also influence your results:
- D-handles provide better grip stability for heavier loads
- Rope attachments increase range of motion for stretch-mediated growth
When progressing, use 5-10 lb weight increments to avoid overloading joints. Cable machines with nylon-coated cables reduce friction for smoother resistance patterns, allowing for more controlled movements.
Building a Complete Lower Chest Routine
The lower chest cable fly works best as part of a comprehensive chest training approach. When deciding between exercises, consider these comparisons:
Cable flyes versus decline bench press: While decline pressing prioritizes overall strength development, cables excel at targeted hypertrophy. Research shows cable flyes provide 25% greater lower chest activation compared to the decline bench press.
Cable flyes versus chest dips: Dips involve approximately 60% triceps activation versus just 10% in cable flyes, making the latter a more isolated chest movement. This isolation is particularly valuable for those with a lagging lower chest.
For weight recommendations, start with loads that allow full range of motion with perfect form. A good progression scheme is to increase weight by 5-10% once you can comfortably complete 12 reps. Complement your cable work with decline bench press, weighted dips, and other chest-focused exercises for balanced development.
Measuring Progress and Setting Expectations
Track several metrics to ensure your lower chest development is on track:
Monitor increases in working weight while maintaining proper form—this indicates functional strength improvements. Periodically measure your chest at the lower sternum (widest point) to track physical development.
Visual assessment is equally important: take progress photos every 4-6 weeks under consistent lighting conditions. Performance indicators include your ability to maintain tension throughout entire sets and recovery metrics—soreness should typically subside within 48-72 hours after training.
Set reasonable progression goals, aiming for approximately 5% strength increase every 4-6 weeks. With consistent, focused training, expect visible lower chest definition improvements within 8-12 weeks.
Sources
Breaking Muscle – Lower Chest Cable Flye
My Arsenal Strength – Cable Chest Fly
Muscular Strength – How to High-to-Low Cable Fly Golden Rules